
Luxury vinyl tile (LVT) may look the same on the surface, but how it’s installed changes everything. The difference between glue-down and floating systems directly affects performance, failure patterns, and how the floor must be evaluated during an inspection.
Understanding glue-down vs floating LVT technical evaluation procedures is critical for flooring inspectors, installers, consultants, and claims professionals. A misidentified installation method can lead to the wrong diagnosis, blaming the product when the issue is substrate-related, or overlooking the expansion restriction in a floating floor.
This guide breaks down the real-world inspection differences between glue-down and floating LVT, giving you a clear, field-ready framework to evaluate each system accurately and confidently.
What Is Glue-Down LVT?
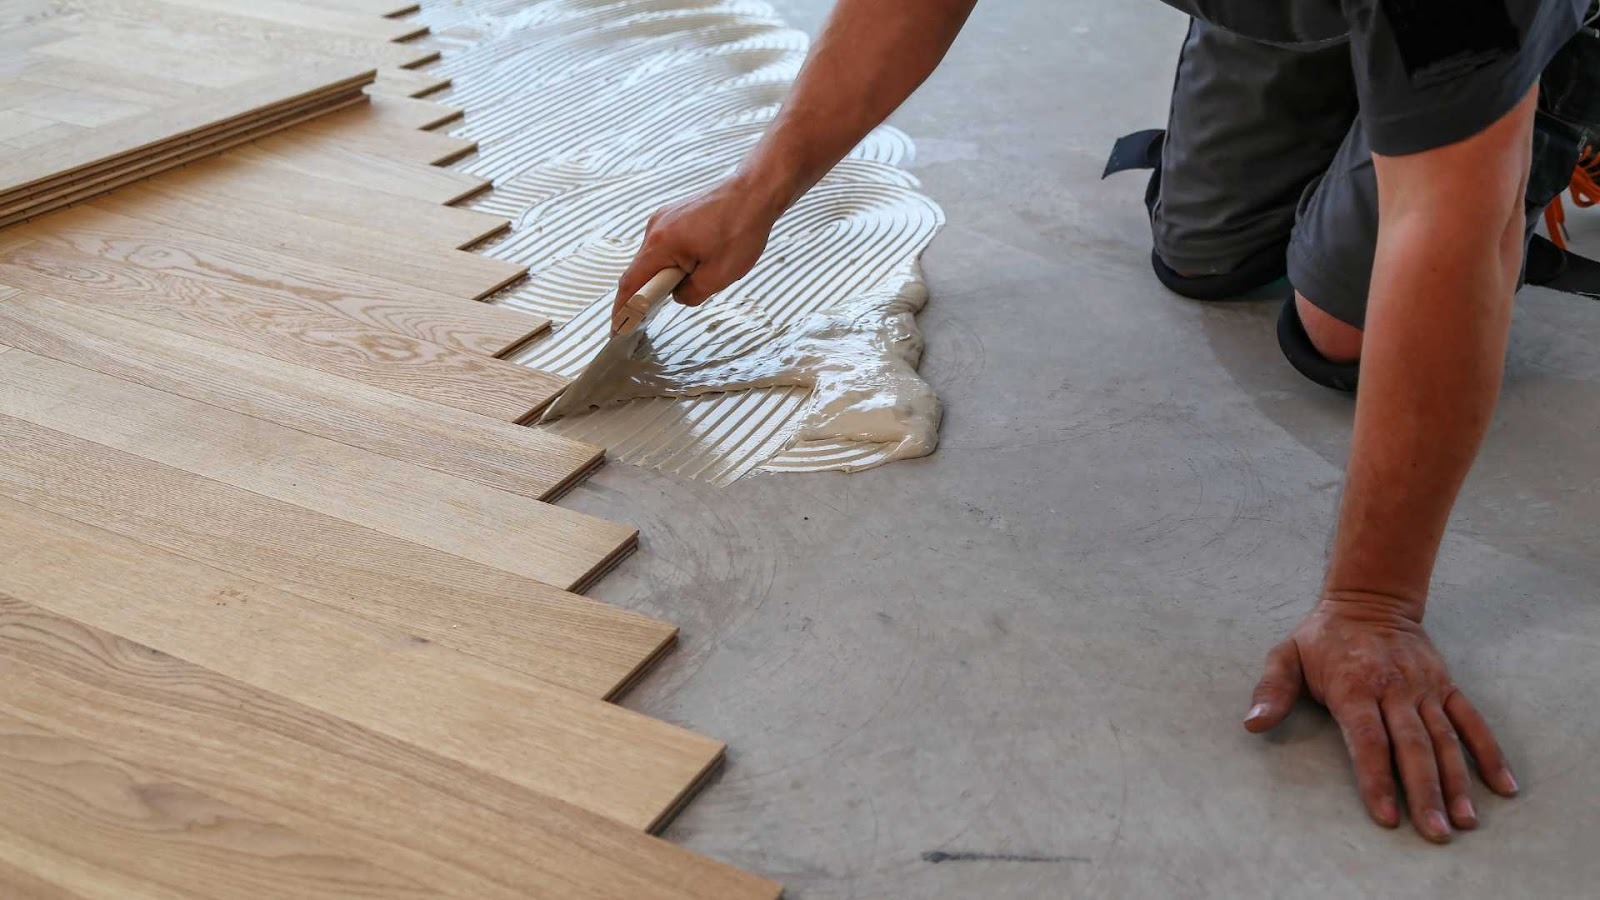
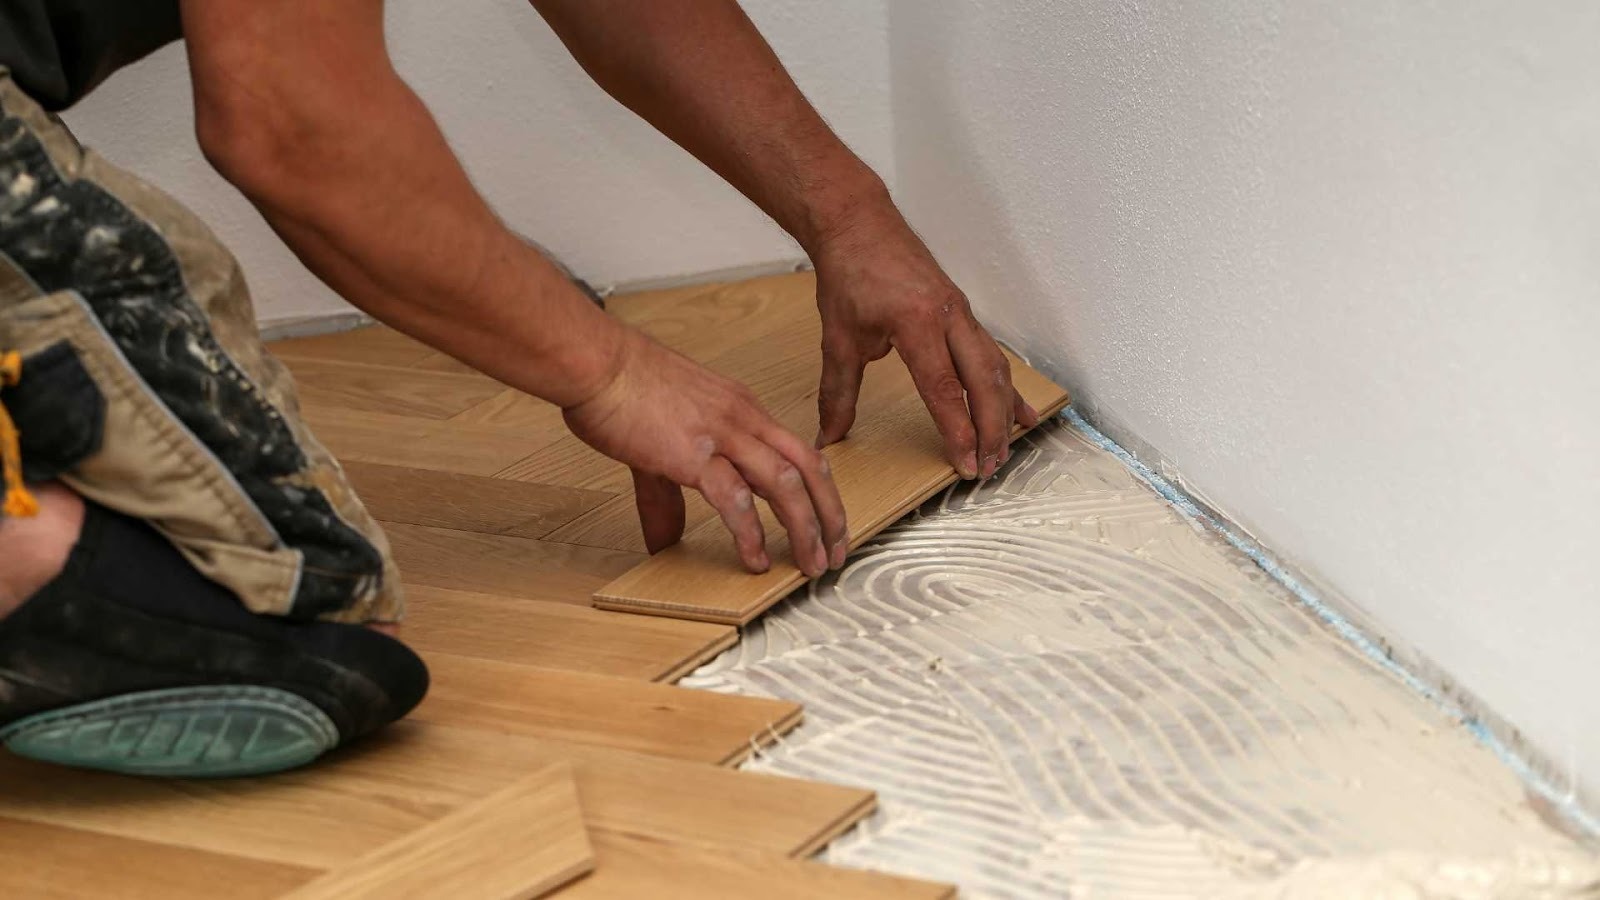
Glue-down LVT is adhered directly to the subfloor using a pressure-sensitive, wet-set, or hard-set adhesive. Once installed, the flooring becomes bonded to the substrate and functions as a unified system rather than a free-moving assembly.
Because the material is fixed in place, long-term performance depends on multiple interrelated factors, including:
- Adhesive selection, spread rate, and application method
- Subfloor preparation, flatness, and structural stability
- Moisture vapor conditions and compliance with manufacturer limits
- Environmental conditions during installation (temperature and humidity)
- Required acclimation period, where specified
- Proper trowel size, open time, and working time
- Traffic restrictions before full adhesive cure
Bond integrity is not determined by substrate condition alone. Installation timing, jobsite environment, and adhesive chemistry all influence whether the system performs as intended. Failure in any of these variables can compromise adhesion and long-term stability.
What Is Floating LVT Flooring?
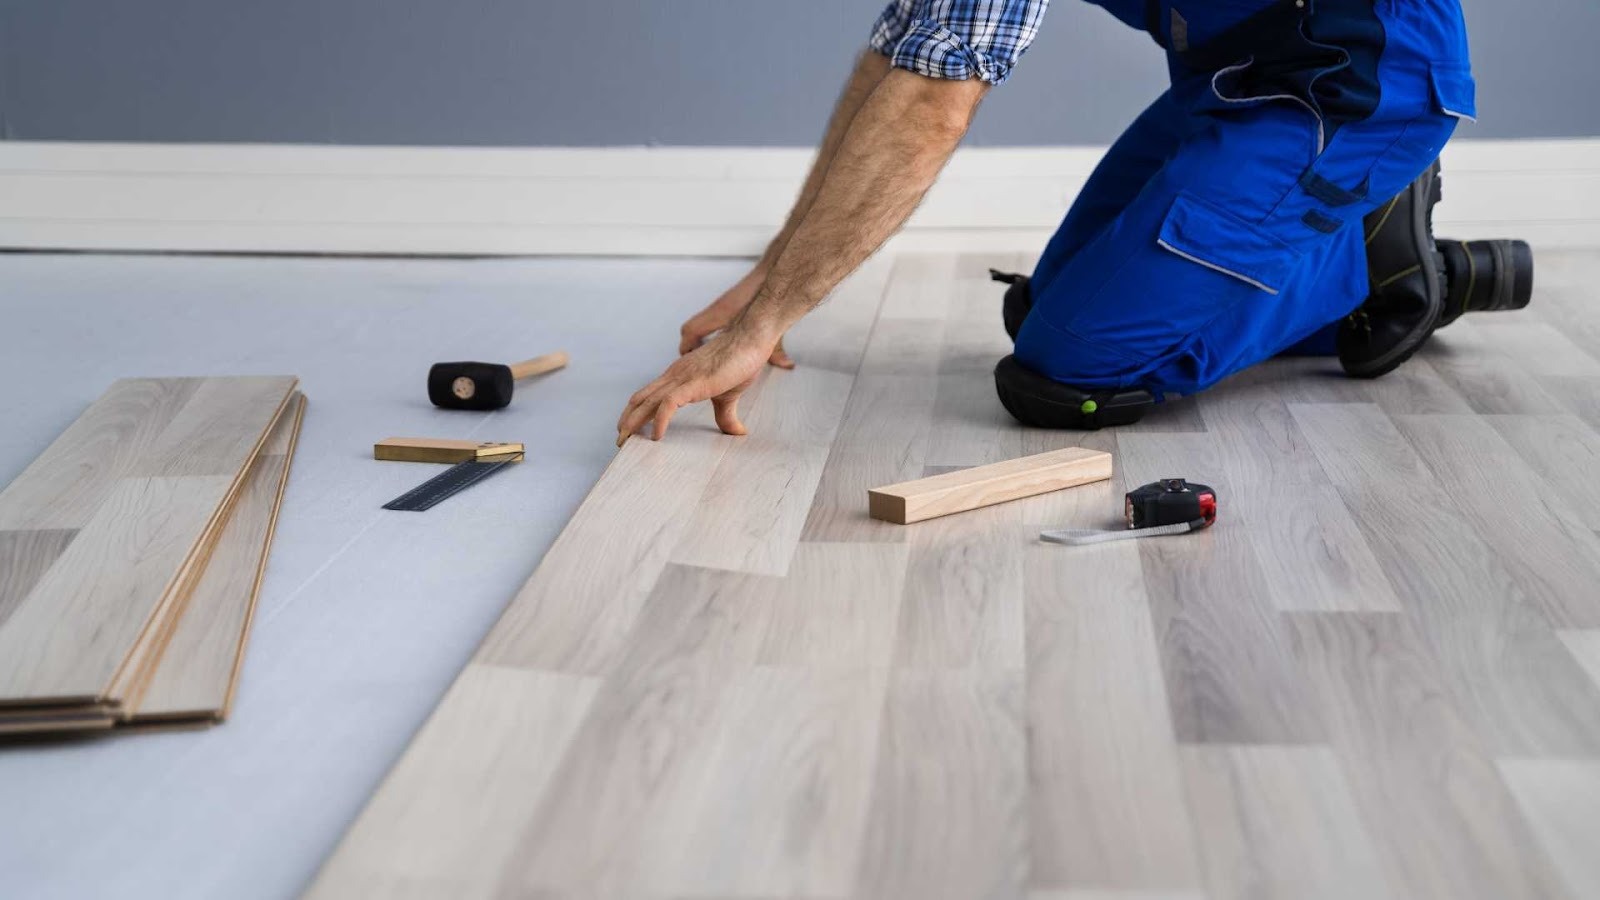
Floating LVT flooring, commonly rigid core (SPC or WPC) or click-lock systems, is installed without adhesive. Planks or tiles interlock mechanically and “float” over the substrate or an underlayment.
This system is designed to allow controlled movement in response to temperature and humidity changes.
Performance depends primarily on:
- Expansion gap compliance
- Locking mechanism integrity
- Subfloor flatness
- Environmental stability
Unlike glue-down systems, floating floors are not bonded to the substrate and rely on proper expansion management.
Why Proper Technical Evaluation Procedures Are Critical
Although glue-down and floating LVT both fall under the broader category of luxury vinyl flooring, they behave very differently in terms of subfloor dependency, moisture tolerance, dimensional stability, expansion management, and load distribution. Because of these differences, they cannot be evaluated using the same inspection approach.
Improper evaluation often leads to incorrect conclusions, such as misdiagnosing adhesive failure, blaming product defects for subfloor irregularities, ignoring expansion restriction issues, or overlooking moisture vapor transmission problems.
In warranty claims, insurance investigations, or construction disputes, technical accuracy directly affects the credibility and defensibility of the inspection findings.
Note: Professionals who want to follow standardized, defensible inspection protocols often pursue structured training, such as the Advanced Flooring Inspector Training offered by IFCII, to refine field evaluation and documentation procedures.
Technical Evaluation Procedures for Glue-Down LVT
Glue-down systems are substrate-driven. Inspection focuses heavily on the bond line and subfloor condition.
1. Verify Installation Type
Before testing begins, confirm that adhesive was used and identify the specific type, whether pressure-sensitive or wet-set. Determine whether the installer followed the required open time and cure time, as improper timing can directly affect bond integrity. It is also important to review the manufacturer’s installation guidelines to verify compliance with recommended procedures. Never rely on assumptions; if necessary, carefully remove a section of flooring to visually confirm the installation method and adhesive condition.
2. Assess Adhesive Bond Integrity
Key inspection steps include performing a manual bond check, often called a lift-edge test, to assess adhesion strength. Inspect the back of the tile for proper adhesive transfer and evaluate whether the trowel ridges have fully collapsed, which indicates correct adhesive spread. Also, check for signs of adhesive skinning, as this can prevent proper bonding.
Common failure indicators include:
- Hollow spots
- Peaking seams
- Loose edges
- Tenting in isolated areas
Poor adhesive transfer typically indicates improper trowel selection, insufficient adhesive application, or installation outside the manufacturer’s recommended working time.
3. Evaluate Subfloor Preparation
Glue-down LVT depends on proper substrate preparation, as outlined by ASTM International in ASTM F710, Standard Practice for Preparing Concrete Floors to Receive Resilient Flooring. The adhesive bond is only as reliable as the surface beneath it.
Inspect for:
- Flatness tolerances (commonly 3/16″ in 10′, unless manufacturer specifies stricter limits)
- Manufacturer-specific flatness requirements
- Patch and leveling compound integrity
- Surface contamination
- Moisture vapor emission rate (MVER)
Concrete moisture testing using ASTM F1869 or ASTM F2170 is critical before forming conclusions. Slab surface pH should also be tested in accordance with manufacturer requirements, as elevated alkalinity can compromise adhesive performance even when moisture levels appear acceptable. Elevated moisture can lead to adhesive breakdown and bond failure.
4. Analyze Pattern of Failure
Glue-down failures are often localized, but not always. The scope and distribution of the issue must be evaluated before drawing conclusions.
For example:
- Isolated release near windows → thermal expansion stress
- Bond failure across the entire slab → moisture issue
- Random loose tiles → improper adhesive selection
Failure patterns provide important diagnostic clues, but they are not automatically definitive. System-wide adhesive breakdown can occur when moisture conditions exceed manufacturer limits or when incompatible adhesive systems are used.
A thorough evaluation should correlate visible symptoms with moisture testing data, adhesive condition, and environmental history before determining the root cause.
Technical Evaluation Procedures for Floating LVT
Floating LVT behaves differently because it is not bonded to the substrate. Inspection must focus on movement, expansion control, locking mechanism performance, and environmental exposure conditions.
1. Identify Product Construction
Floating LVT systems vary in construction and may include rigid core products such as SPC (stone polymer composite) or WPC (wood polymer composite), flexible click-lock LVT, or products with attached underlayment systems.
Each construction type has different dimensional stability characteristics, core rigidity, and expansion behavior, all of which influence how the floor responds to temperature changes, moisture exposure, solar gain, and load conditions during service.
Verify manufacturer-required acclimation procedures and service temperature ranges when evaluating performance.
2. Check Expansion Gaps
Improper expansion space is one of the most common causes of floating LVT failure. During evaluation, inspect perimeter spacing to ensure adequate clearance has been maintained, and check for obstructions such as kitchen islands, cabinets, fixed partitions, or other heavy fixtures that may restrict movement.
Pay close attention to pinch points at door jambs and transitions where expansion is often unintentionally blocked. Areas exposed to direct sunlight through glass openings should also be evaluated for thermal stress. When expansion is restricted, failure symptoms may include buckling, edge lift, joint separation, or tenting across large areas of the floor.
Because floating systems are designed to expand and contract with environmental changes, they must be able to move freely to perform properly.
3. Evaluate Locking Mechanism Integrity
When evaluating floating LVT, carefully inspect the joints and locking system, as performance depends on the integrity of these mechanical connections. Look for:
- Fractured locking tabs
- Vertical displacement (lippage)
- Gapping
- End joint separation
Damage to the locking mechanism may result from improper tapping methods during installation, excessive subfloor deflection, heavy rolling loads that exceed product limitations, or thermal stress outside manufacturer temperature limits.
Unlike glue-down systems, where failures are often localized, locking mechanism issues in floating floors frequently appear across larger areas due to the interconnected nature of the system.
4. Assess Subfloor Flatness (Critical but Different Impact)
While floating LVT does not rely on adhesive, it still requires a properly prepared and flat substrate. Excessive surface variation can stress the locking system and create hollow or drummy sounds under traffic.
In addition to surface flatness, structural deflection must be evaluated. Excessive subfloor movement, weak OSB panels, or joist spacing that exceeds manufacturer limits can place stress on locking joints and lead to system-wide failure.
Moisture does not cause bond failure in floating systems, but it remains a critical factor. Elevated slab moisture can contribute to dimensional instability, joint stress, underlayment deterioration, and potential microbial conditions beneath the floor.
Although the failure mechanism differs from glue-down systems, moisture must still be evaluated against manufacturer limits, required acclimation conditions, and specified service temperature ranges.
Glue-Down vs Floating LVT: Key Technical Differences
| Evaluation Factor | Glue-Down LVT | Floating LVT |
| Primary Risk | Adhesive failure | Expansion restriction |
| Moisture Impact | Bond breakdown | Dimensional swelling |
| Failure Pattern | Localized | System-wide |
| Subfloor Flatness | Affects bond | Affects joint stress |
| Movement | Restricted | Designed to move |
Understanding this distinction prevents incorrect conclusions.
Become an Expert in LVT Evaluation
Luxury vinyl systems continue to evolve, especially rigid core and click-lock products. Inspectors must understand both installation methods and product construction types to properly evaluate failures.
For professionals who want structured, hands-on training specifically focused on LVT systems (including glue-down, floating, and rigid core products), the Luxury Vinyl Flooring Inspection Course offered by IFCII provides:
- IFCII-recognized inspection protocols
- Moisture testing methods specific to LVF
- Failure pattern analysis
- Locking system evaluation
- Professional documentation and report writing standards
Because many claims involve distinguishing between product defect and installation error, formalized procedures reduce subjective conclusions and improve report defensibility.
This type of focused LVF training is especially relevant for inspectors, insurance carriers, retailers, and expert witnesses handling flooring disputes.
Inquire About LVF Inspection Training!
Frequently Asked Questions
1. How do I determine if LVT is glue-down or floating during inspection?
Carefully remove a transition or edge trim. Glue-down will show adhesive residue bonded to the subfloor. Floating systems will lift freely and interlock without adhesive.
2. Is moisture testing required for both systems?
Yes, glue-down systems require moisture testing to evaluate bond integrity. Floating systems require moisture assessment to determine potential dimensional instability or substrate concerns.
3. Can improper subfloor flatness cause floating LVT failure?
Yes, excessive subfloor deviation places stress on the locking joints, leading to fractured mechanisms, vertical displacement (lippage), joint separation, and premature wear, especially in rigid core click systems.
4. Where can inspectors learn standardized LVT evaluation procedures?
Inspectors seeking focused training on glue-down and floating systems can take the Luxury Vinyl Flooring Inspection Course from IFCII. It covers LVF inspection protocols, moisture testing, failure analysis, and professional documentation standards for real-world evaluations.